
How to install a pickup into an acoustic guitar or ukulele
This post teaches you how to install a piezo pickup into your acoustic guitar or ukulele. Installing a piezo pickup into your guitar or ukulele will take about 10 to 45 minutes, depending on your experience and skill set. The total cost of the project was $12.05. All of the music gear, equipment and tools that I used to complete this task are detailed below. Before you proceed please read through all of the steps below before attempting to install a guitar strap button. This advice is for your own benefit so you know ahead of time whether or not this project is something that you can accomplish on your own or if you should instead have a professional guitar technician complete this task for you. The tools that you’re going to need to install a piezo pickup into your acoustic guitar or ukulele are all listed below.Good luck on installing a piezo pickup into your acoustic guitar or ukulele I hope this blog post helps you!
-Chrit
Project Objective: To install a pickup into an Acoustic Tenor Ukulele
Note: This process is also applicable to an acoustic guitar. The steps are the same for each instrument.
Estimated Time to complete task: 10-45 minutes depending on your experience and skill set
Total Cost spent on project: $12.05
Itemized Cost breakdown (pics and links where to buy are at end of this post)
Piezo pickup $8.12
Hi Temp Mini Glue Gun $2.88
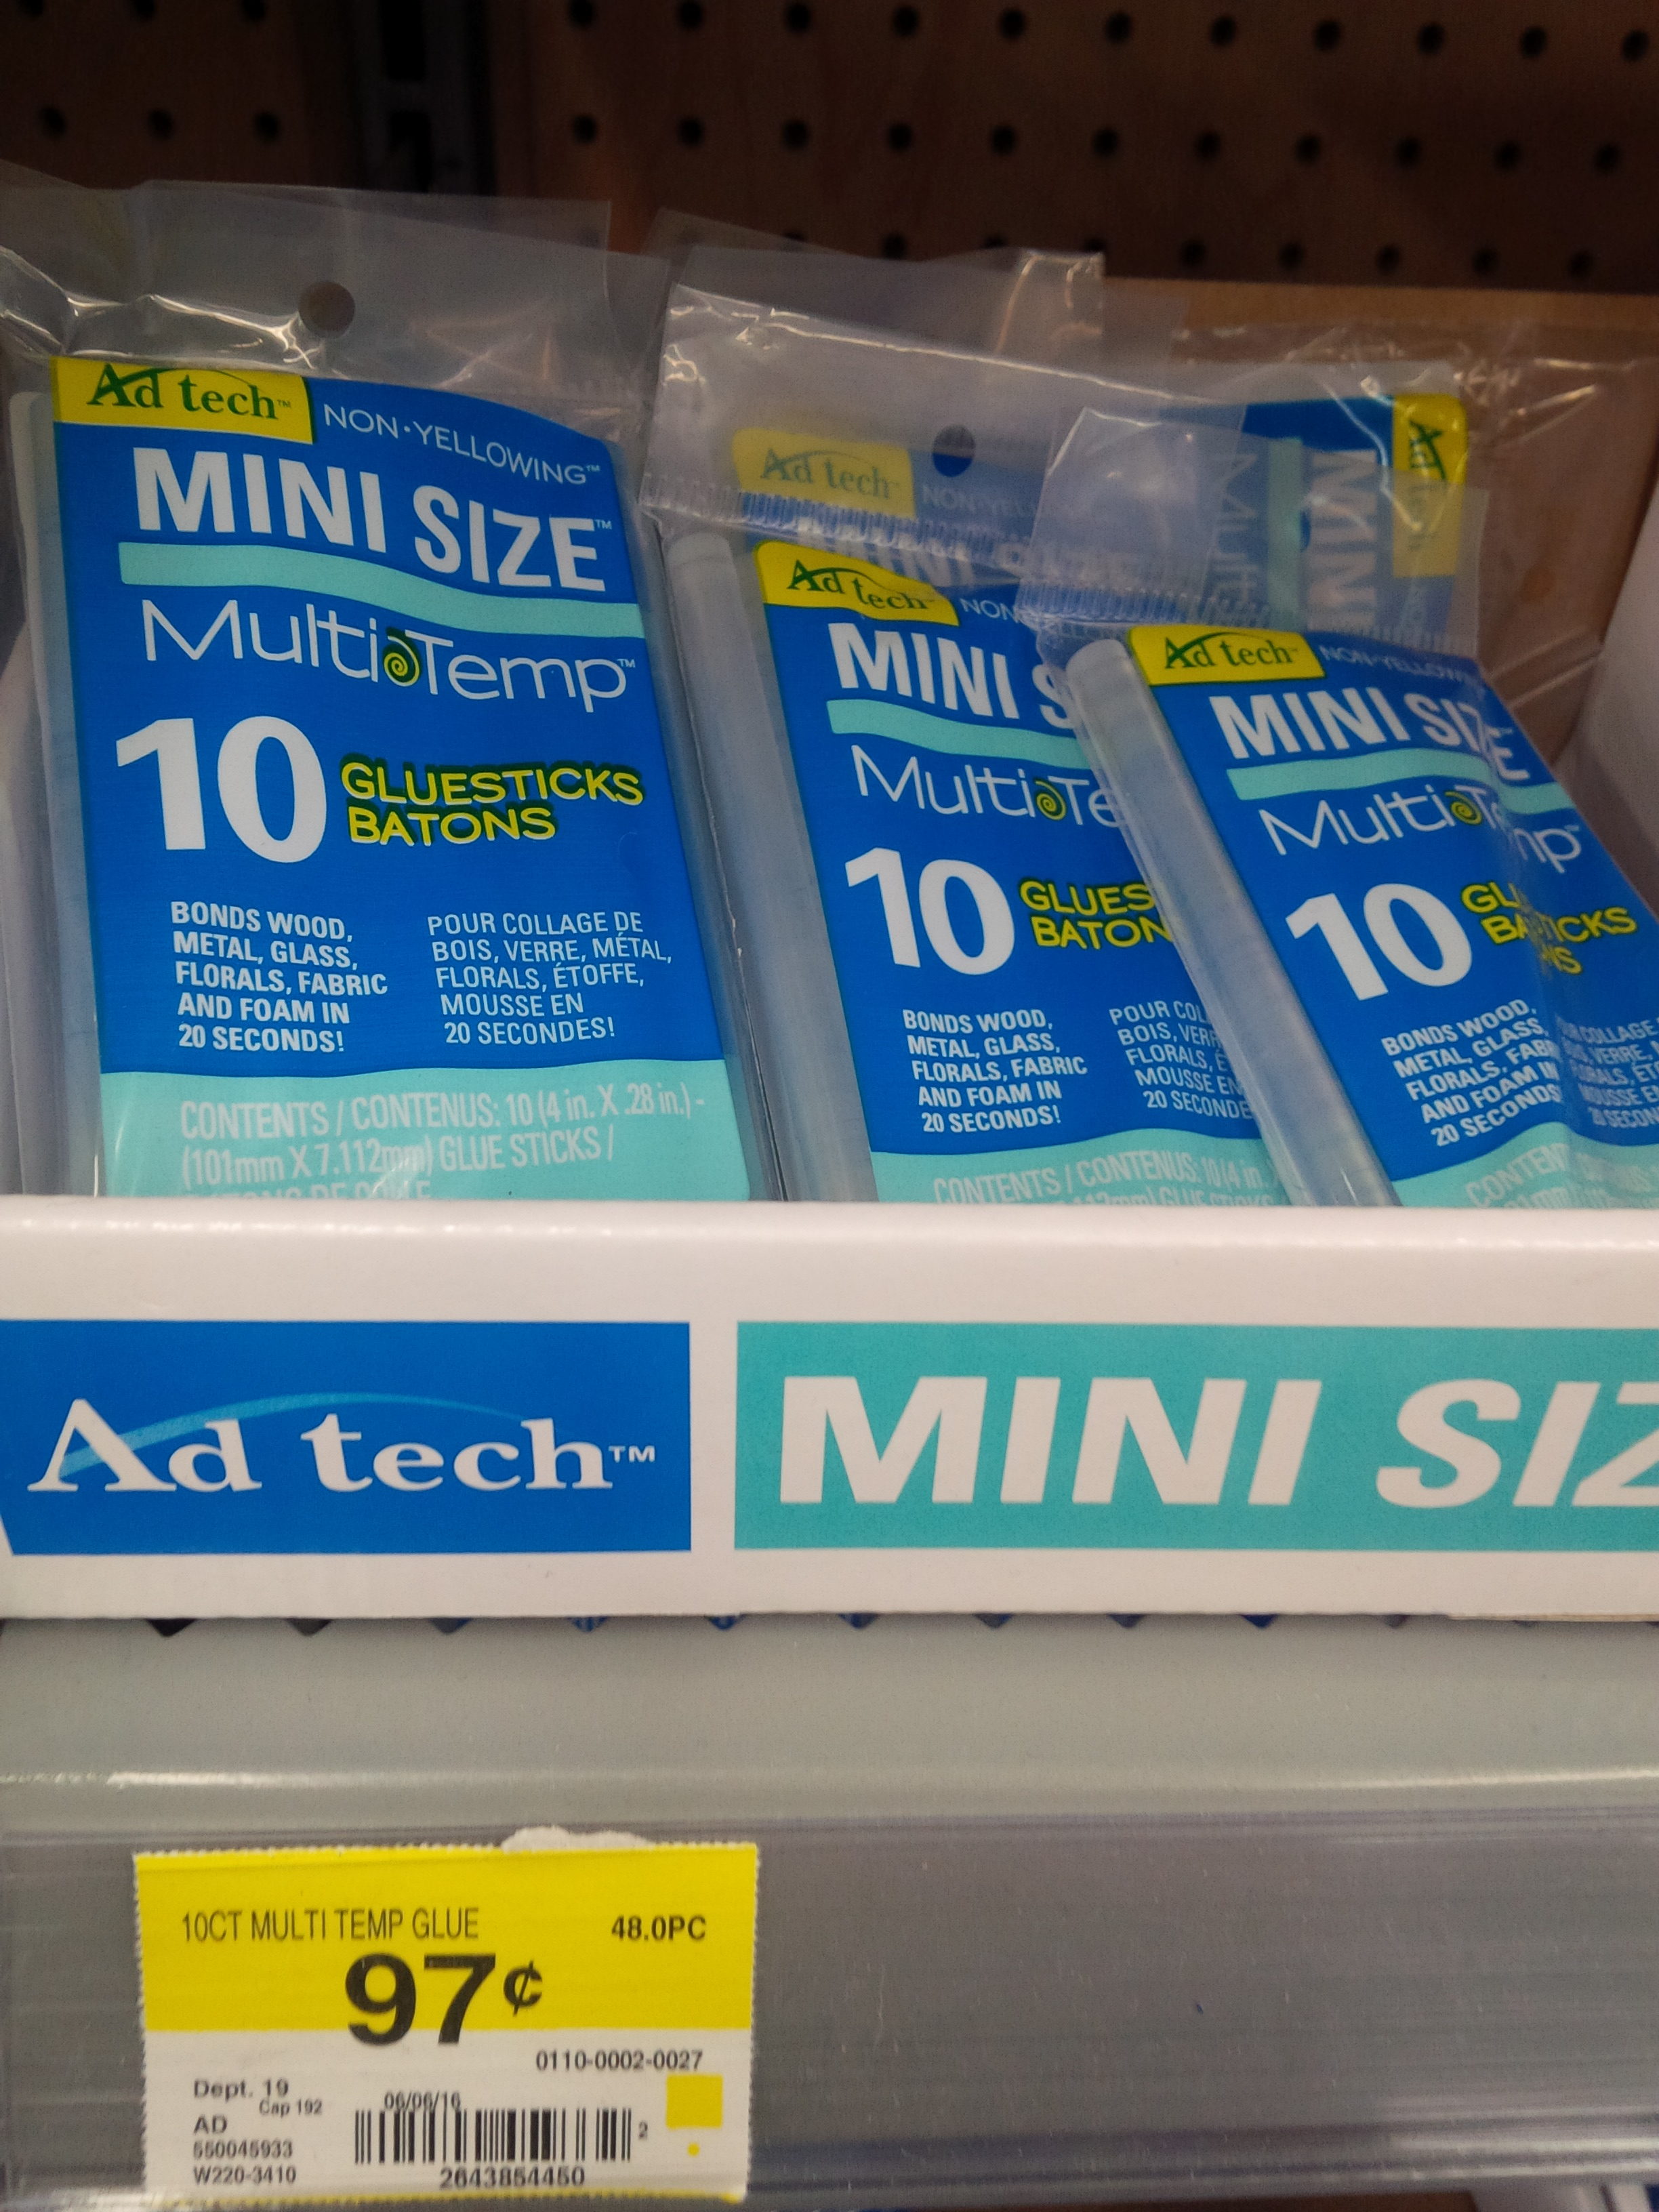
Mini Glue sticks $1.05
Music gear you need to accomplish goal in this post
Ukulele
Bass Amplifier or Acoustic Amplifier
Instrument Cable
Piezo Pickup
Music gear used in this project and post
Caramel CT102A Zebrawood Tenor Acoustic Ukulele
Instrument Cable
Fender Rumble 25 Bass Amplifier
uxcell Musical Instruments Pickups Piezo Microphone Contact 3 in 1
Tools used to complete project
Blue Painter’s Tape
Flashlight
Black marker
Wire Coat Hanger (or something similar to use in step 10)
1 Instrument Patch Cable
Drill
1/8″ Drill Bit
1/4″ Drill Bit
3/8″ Drill Bit
Needle nose Pliers
Hi Temp Glue Gun* (mini size will work fine for project)
*Note- I bought the mini Hot glue gun that was labeled hot temp. This is the gun with the red trigger. Ad tech also makes a low temp gun with a blue trigger. I’m not sure how that one works. Just wanted to point out that there are two models.

1 mini or regular size gluestick
How To Install a Pickup into an Acoustic Guitar or Ukulele Directions
Step 1- Open the uxcell Musical Instruments Pickups Piezo Microphone shown below in pictures 1 and 2.

Picture 1.
 Picture 2.
Step 2 – Place a glue stick in your glue gun now and plug in the hot glue gun so that glue has a chance to heat up.
Step 3 – IMPORTANT!….Before you drill any holes into the ukulele, you’re going to want to first test the piezo pickup to make sure that it works correctly. Here’s how to do that. Carefully separate the three pickups and place them underneath/behind the ukulele bridge so that they’re on top of the soundboard. To help you complete this step I’ve supplied 2 pictures below. For this step you’re going to want to place the red side down on the soundboard and very gently place a strip of blue painter’s tape over the white side of the circles (separate sides of pickup can be seen in picture 3; placement of pickups taped to top of soundboard behind the bridge is displayed in picture 4). Next plug the pickup into an acoustic amplifier or a bass amplifier. Turn on your amplifier and strum the ukulele to make sure that the pickup works first before you drill any holes in the ukulele. See the pictures below for further explanation. Once you’ve determined that the pickup works continue to step 4.
 Picture 3.
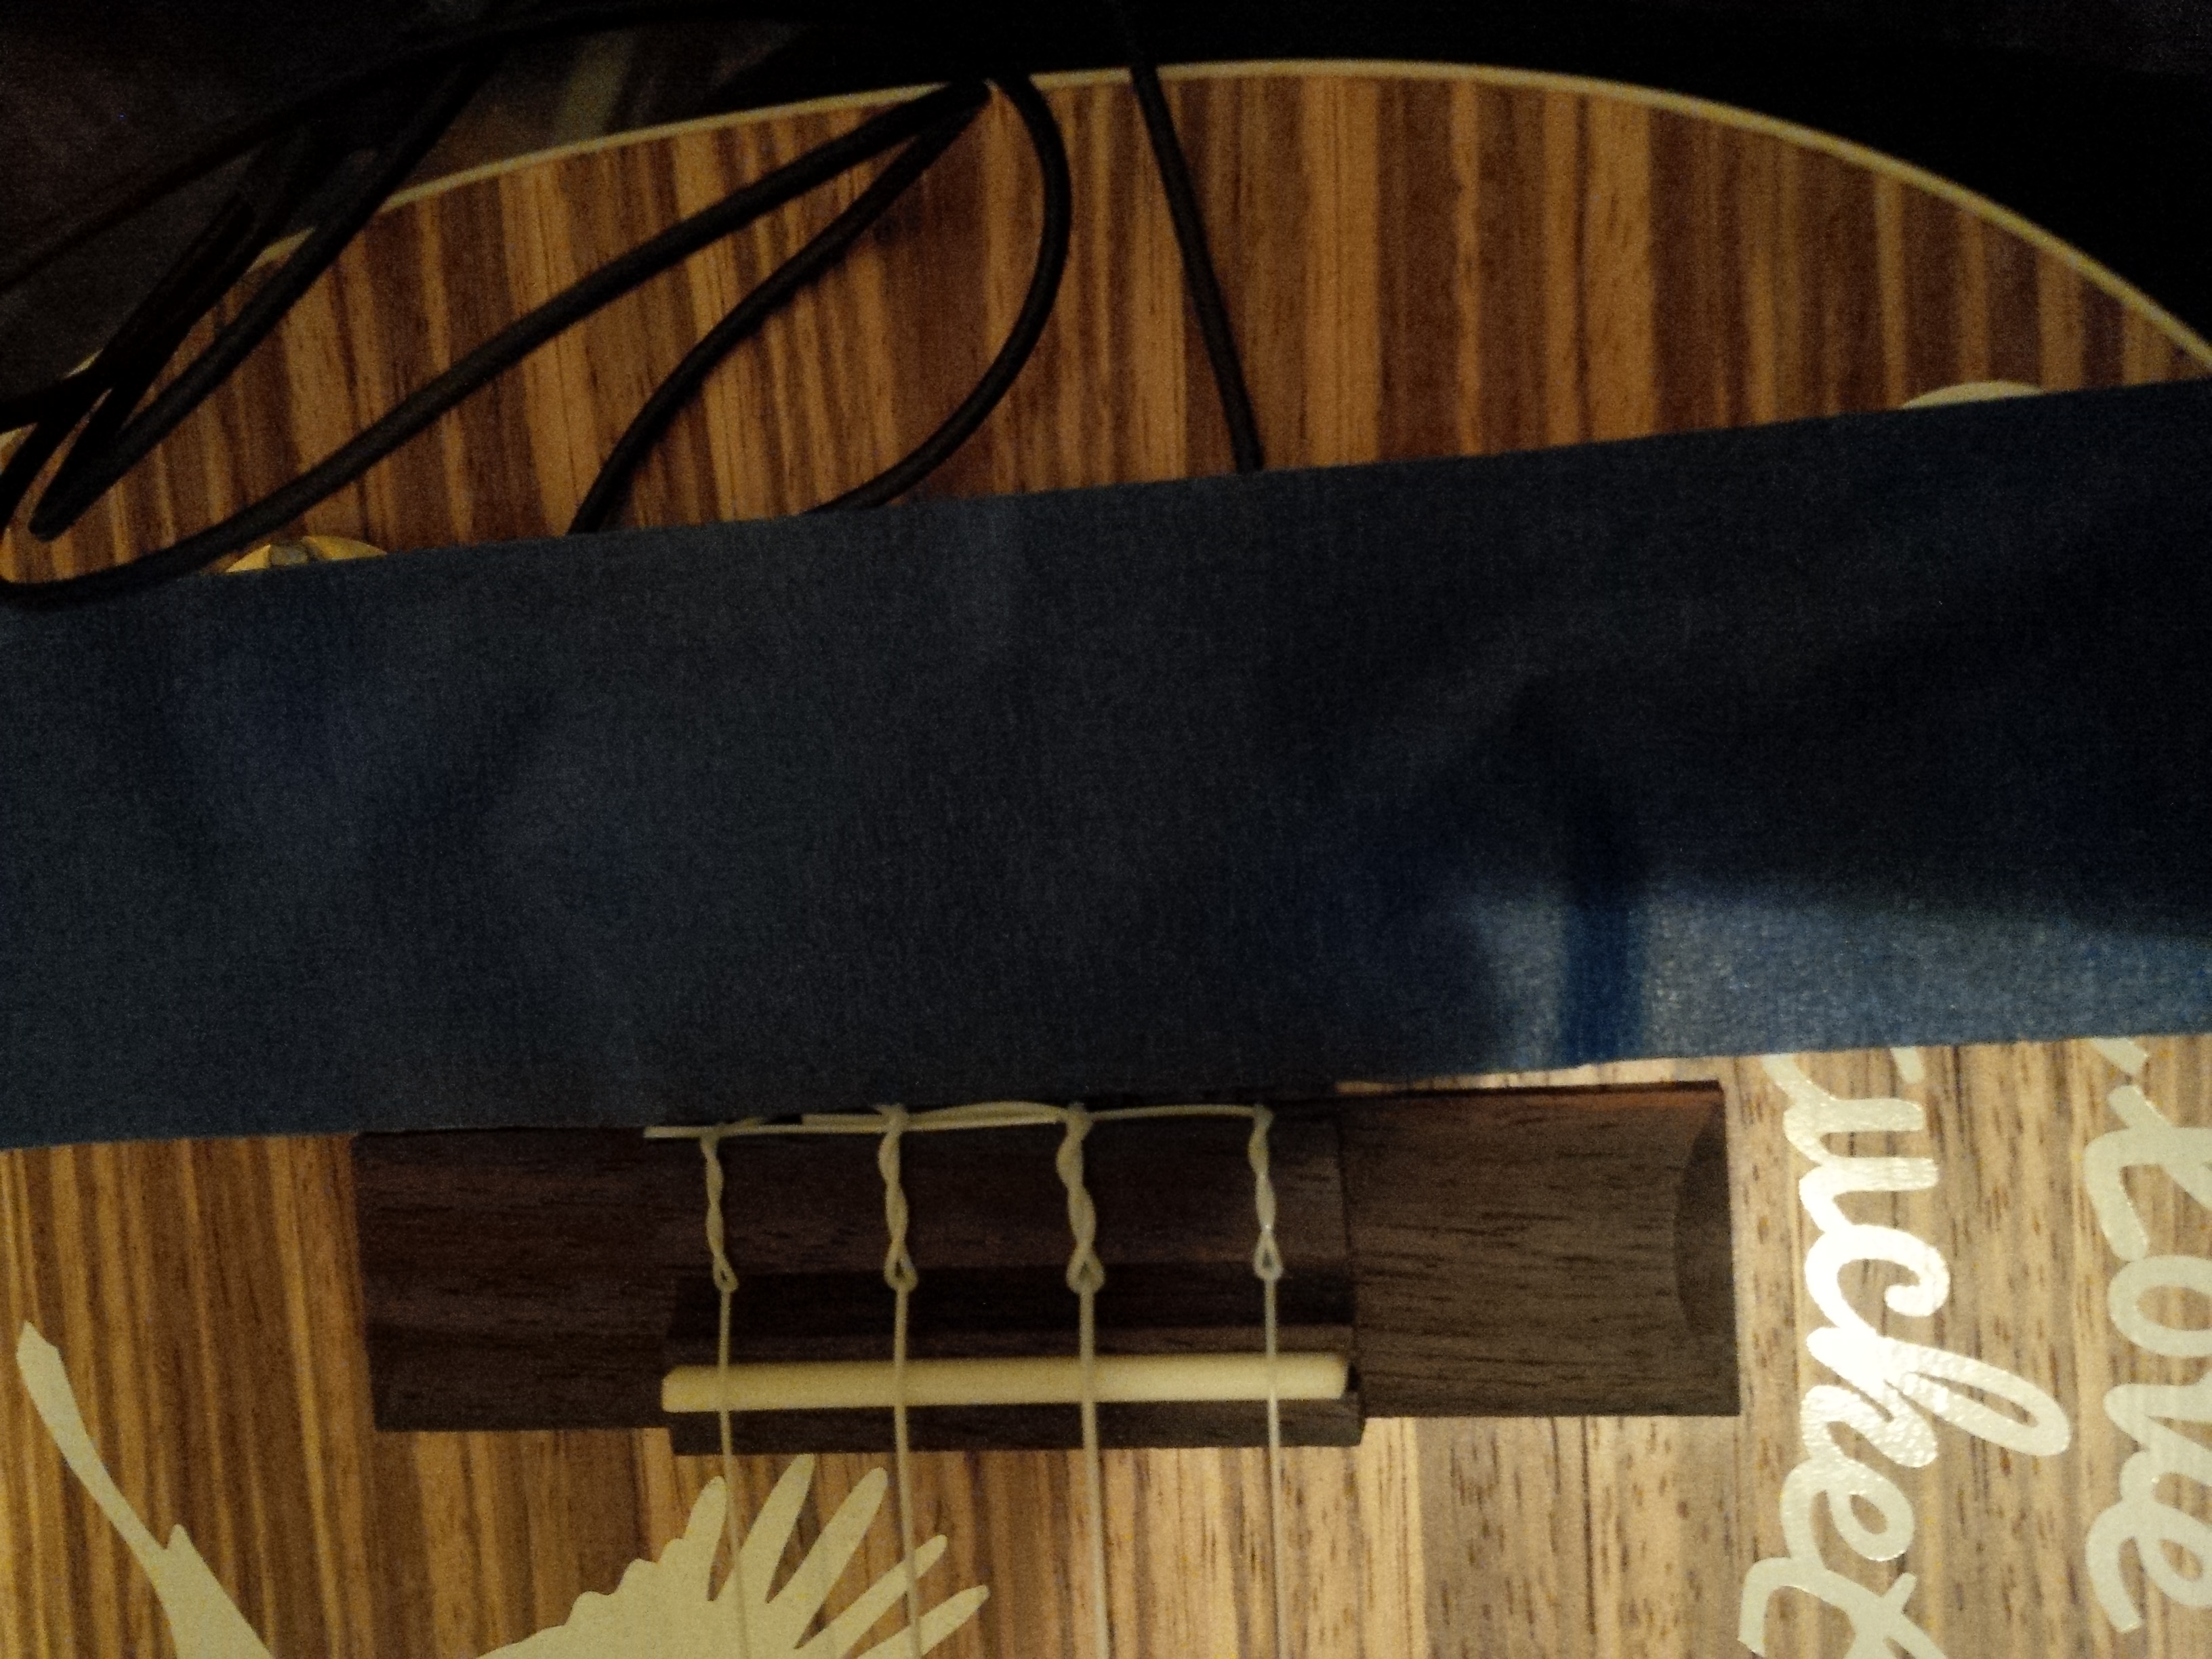 Picture 4.
Step 4- Next after testing to make sure the pickup works, loosen all four strings on your ukulele until you’re able to tape them to the sides of the soundhole where they’ll be out of the way. Picture 5 below displays how your ukulele should look after you complete step 4.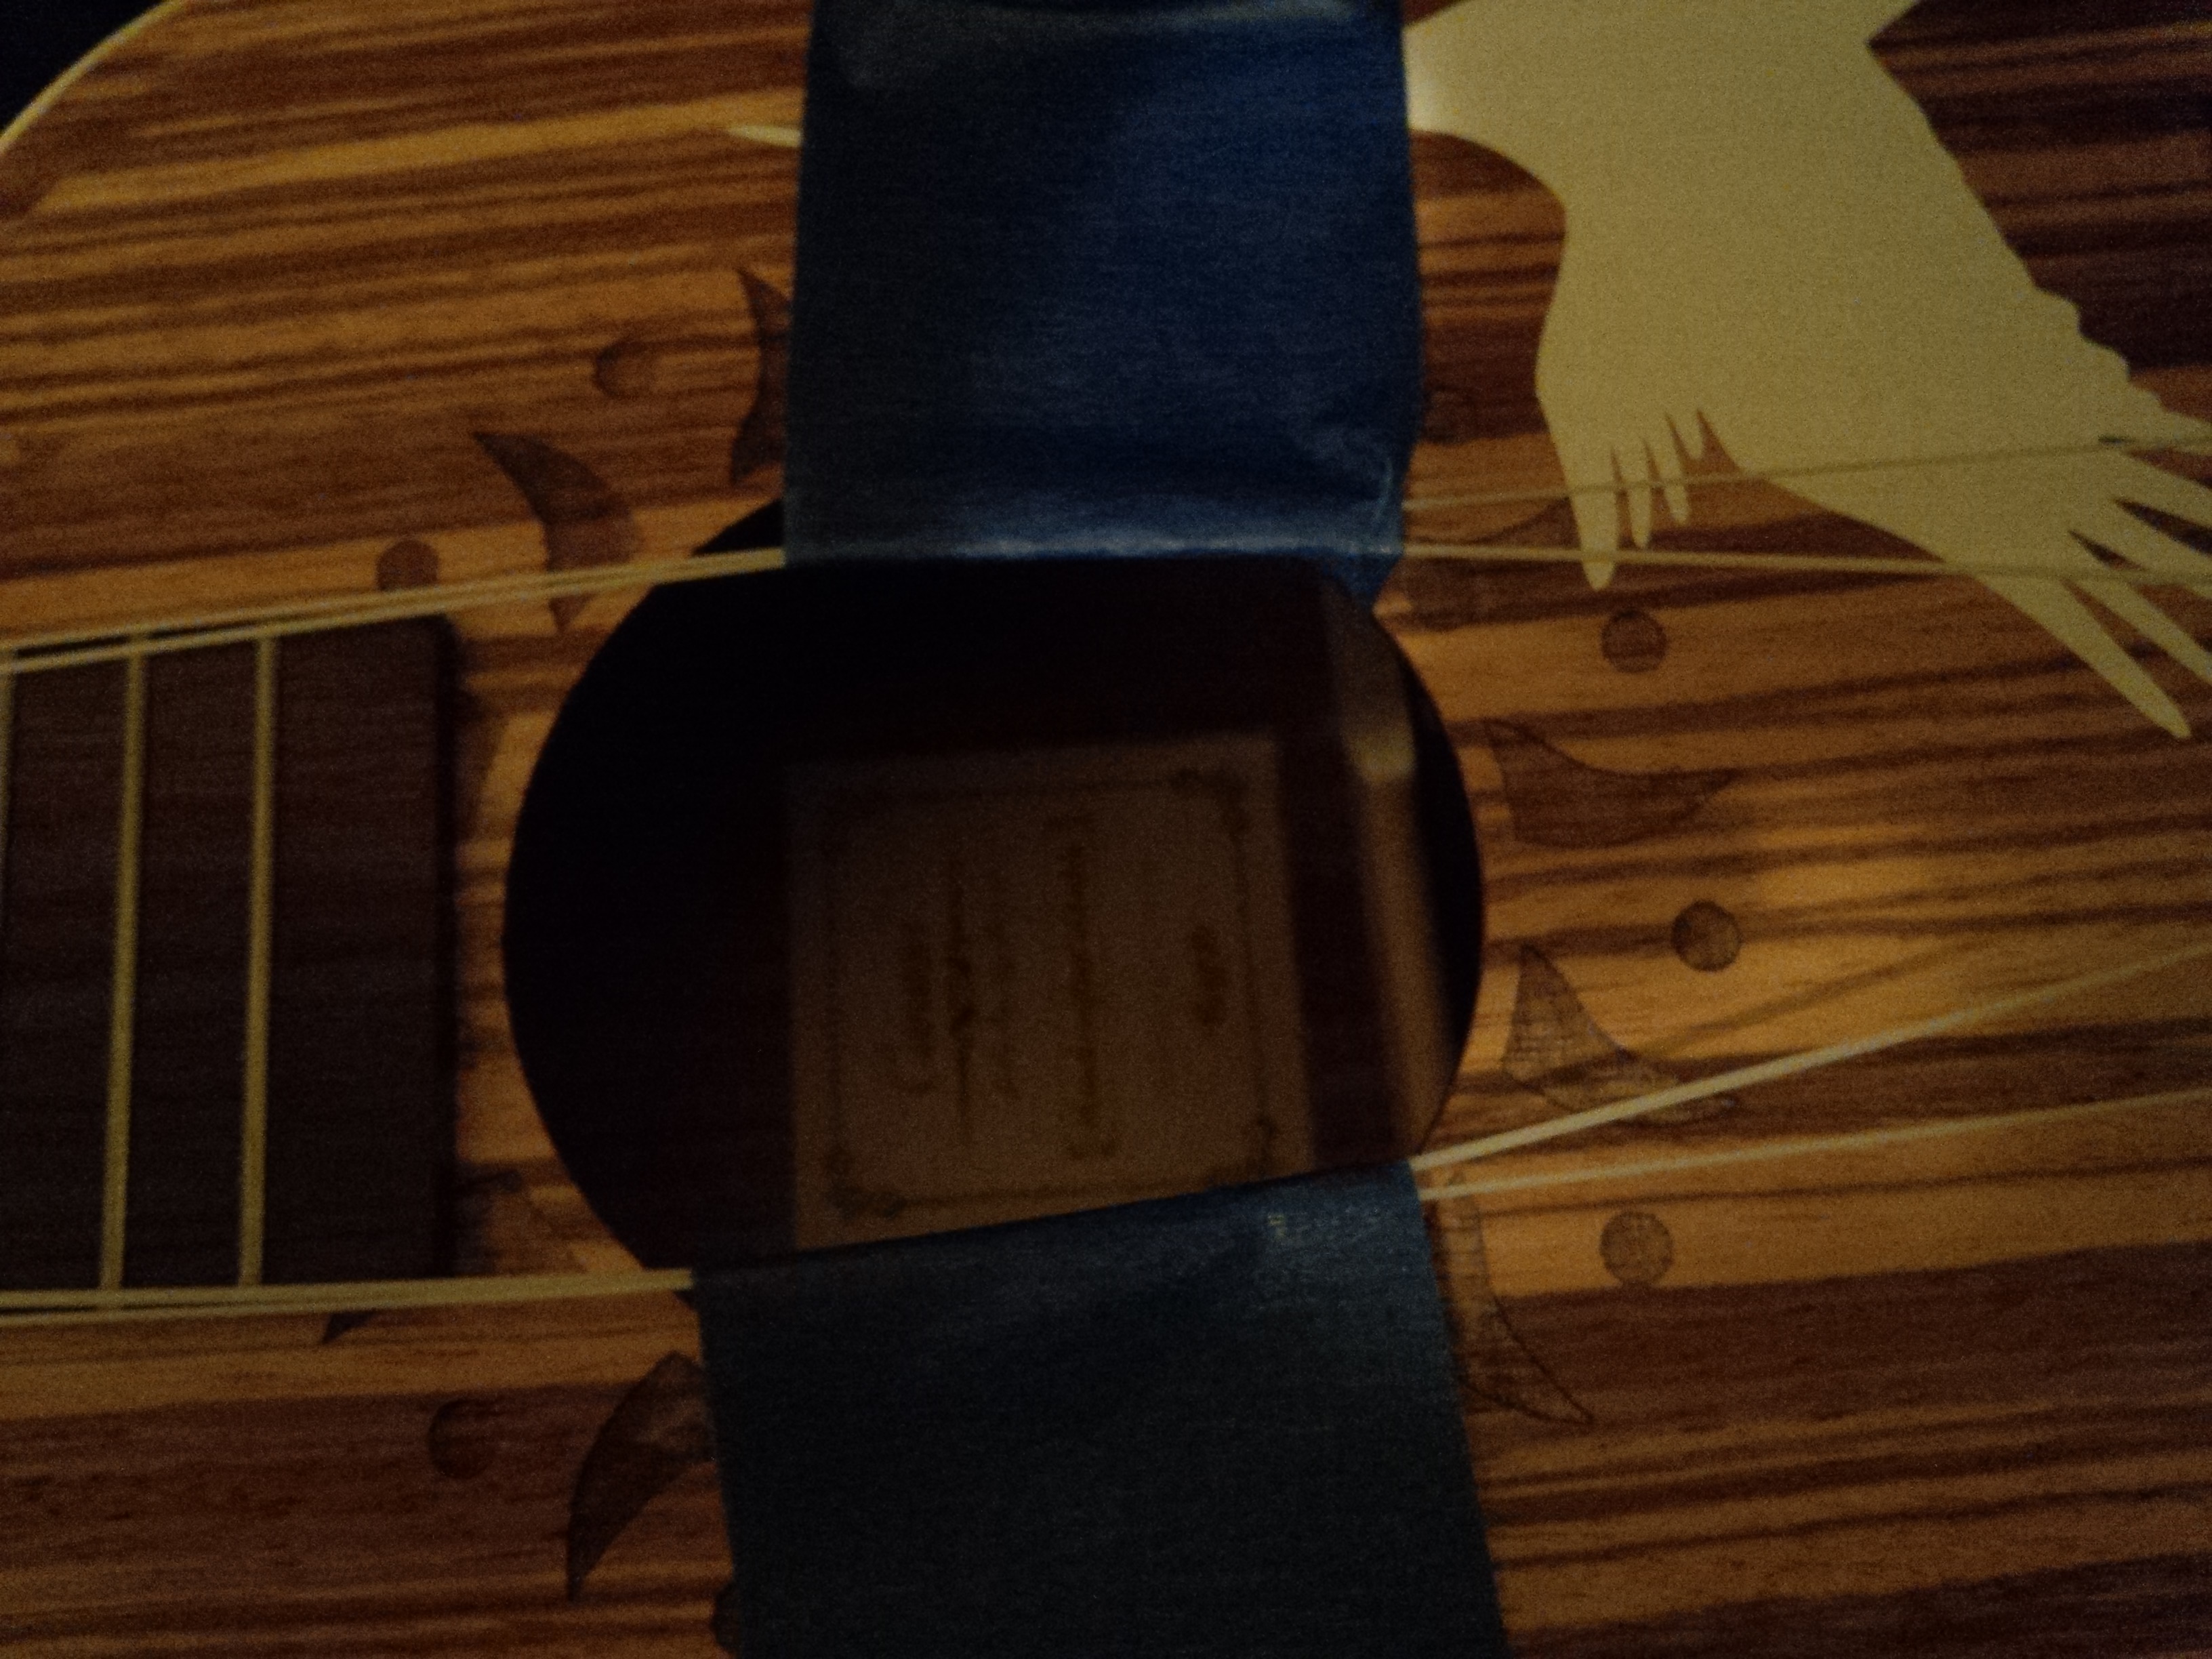 Picture 5.
Step 5- Next grab a flashlight, and turn the ukulele upside down. Shine the light into the sound hole and check where the bracing is on the inside of the instrument. Pick a spot for your input to go that will not damage the bracing when you drill the hole for the input.
Step 6- Don’t skip Step 6. Using blue painter’s tape, tape the location where you want to drill the hole for the input jack. This step is important because by taping the drill hole location before you drill. The tape should help prevent the wood from splintering.
Step 7- Grab your black marker and place an “X” in the center of the tape or where the target is going to be for you to drill a hole. Picture 6 displays the side of the ukulele taped and the “X” in the middle of where the input jack was placed in my ukulele.
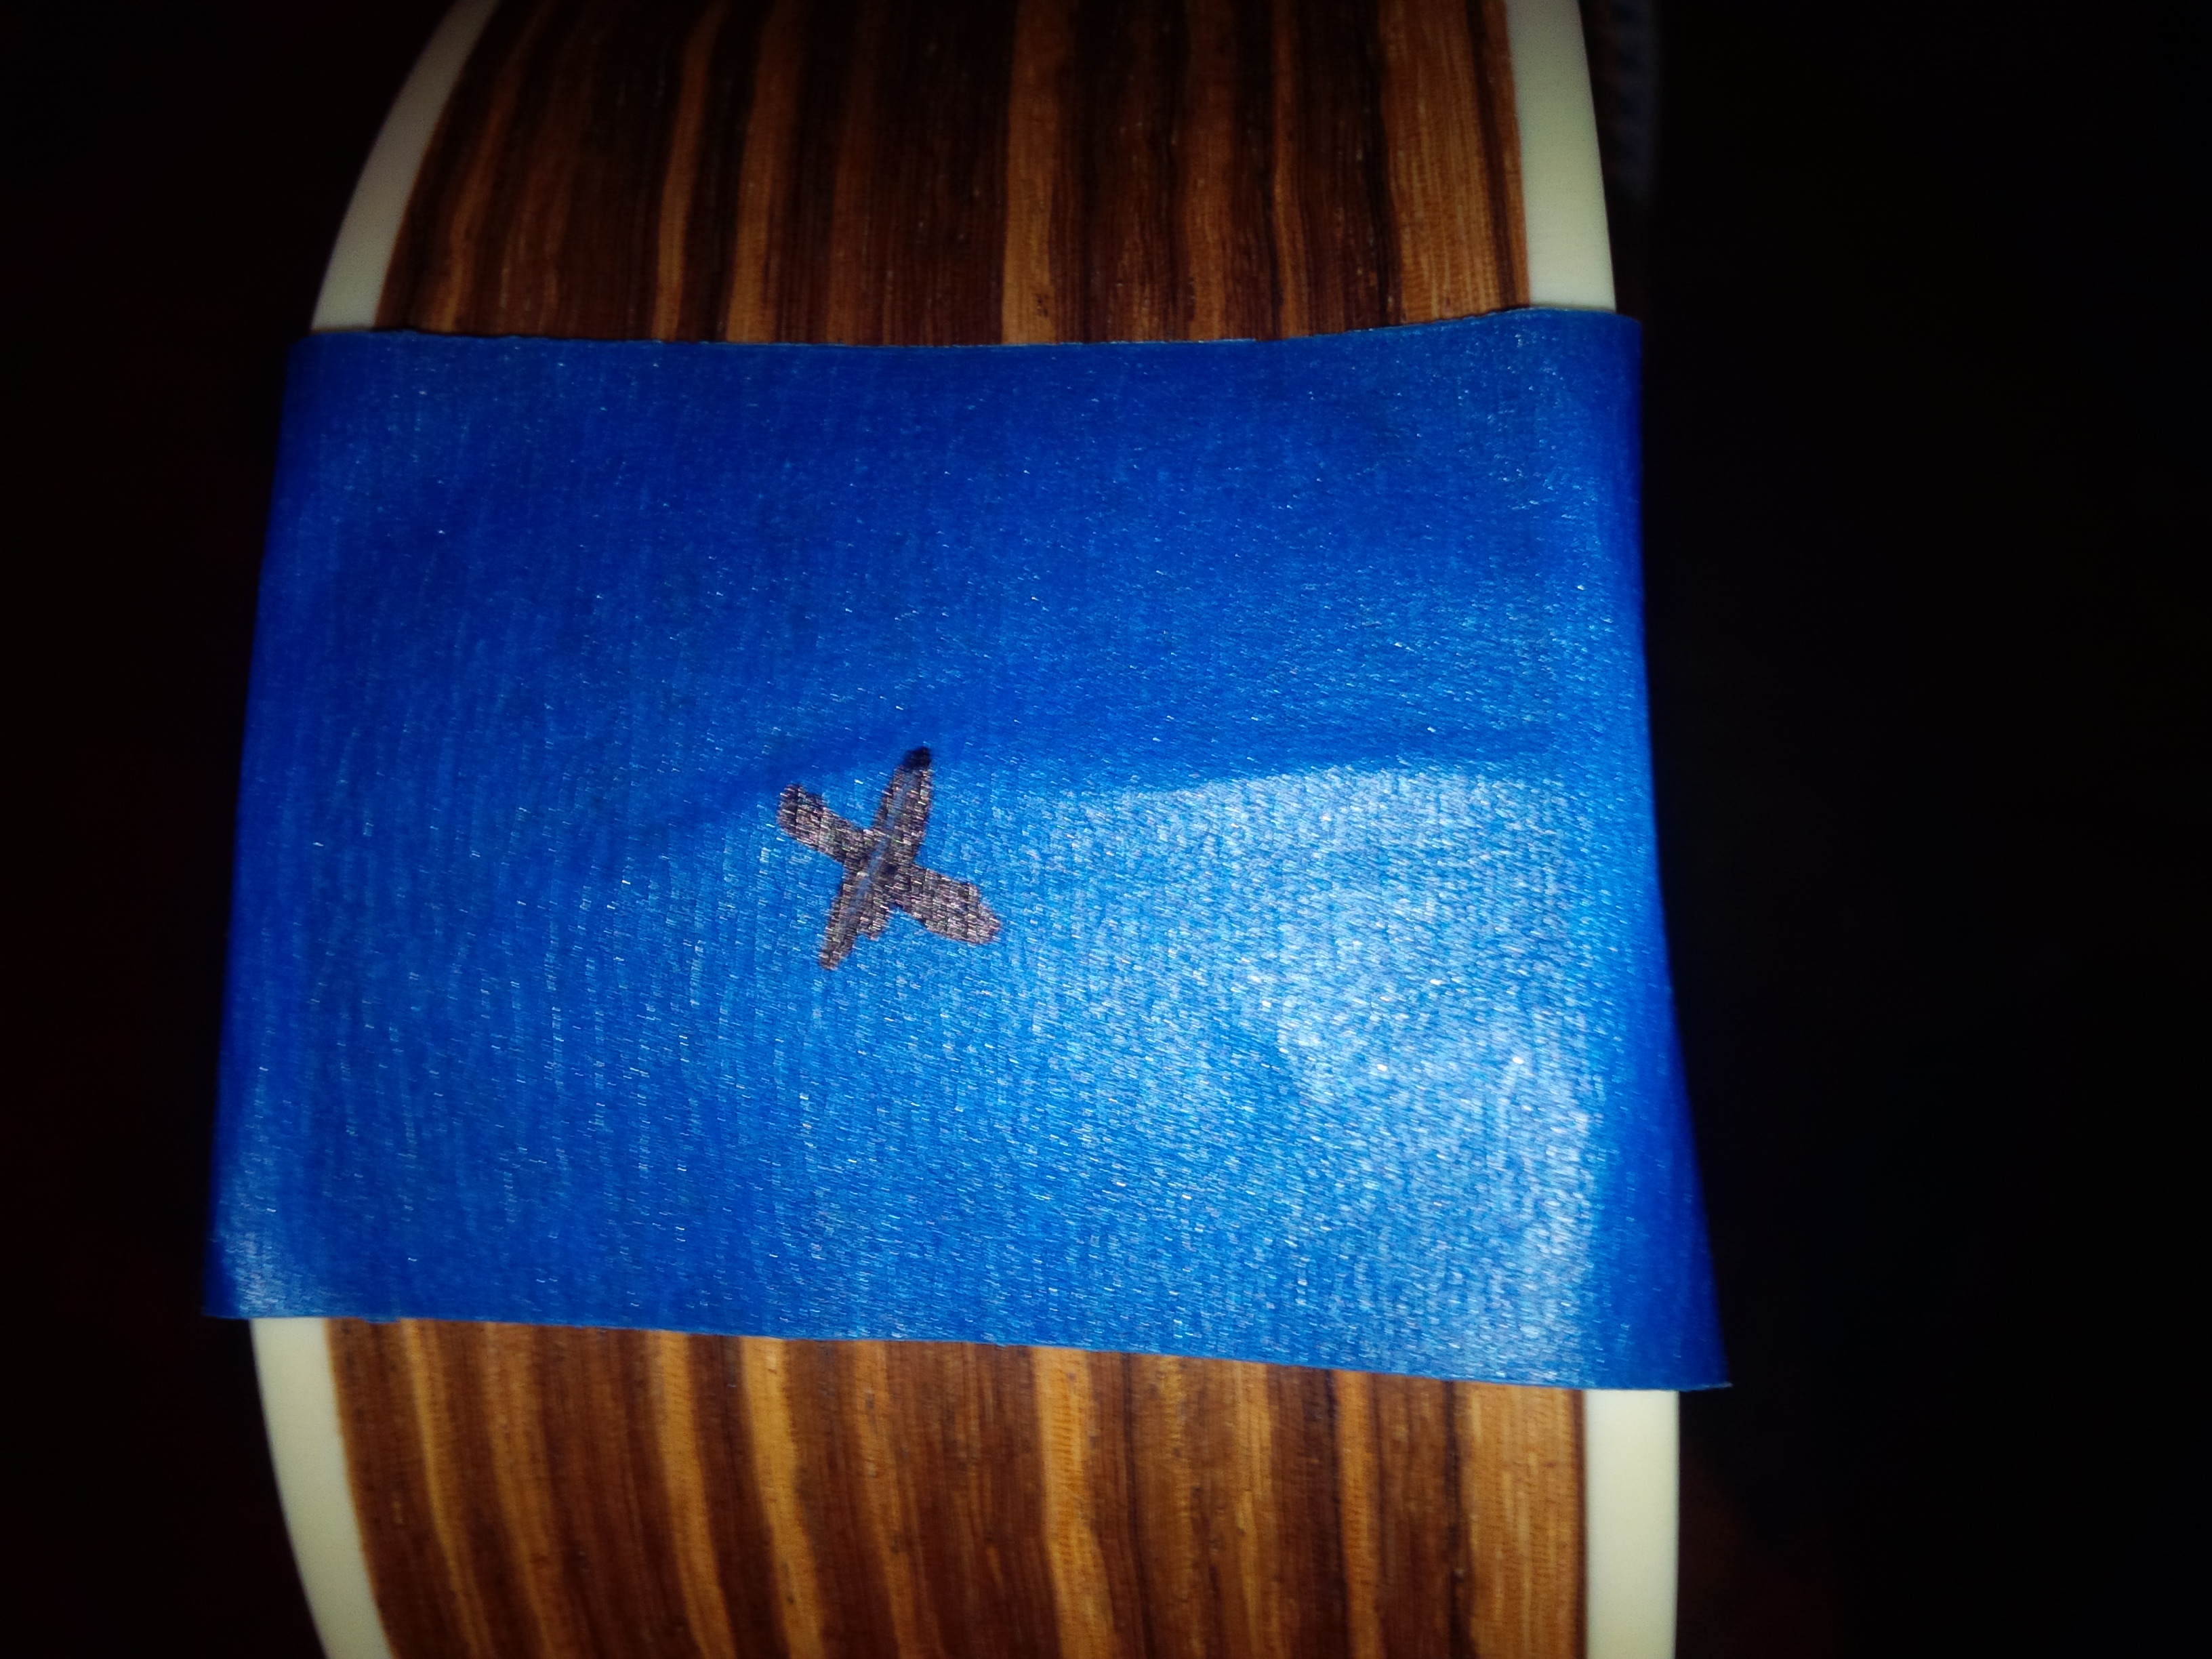 Picture 6.
Step 8- Next using your Drill and the 1/8″ drill bit, drill a hole into the ukulele where you have your target marked. Remember to drill slowly.
Step 9- After drilling the first hole, next again using your Drill and the 1/4″ drill bit, drill another hole in the same exact spot where you just drilled the 1/8″ spot to make the original circle larger. Remember to drill slowly.
Step 10- Next, after drilling the same hole twice, switch the drill bit in your drill and using the 3/8″ drill bit, drill another hole in the same exact spot where you just drilled the 1/4″ spot so that your original circle is now 3/8″ large. Remember to drill slowly.
Step 11- Next grab your piezo pickup and unscrew the end cap, the nut and, the washer on the input jack. Your input jack should now look like it is shown in picture 7 below with the 3 attachments separated.

Picture 7.
Step 12- Grab your metal coat hanger or wire and straighten it out as best as you can.
Step 13- Send the coat hanger into the ukulele first through the hole where you drilled.
Step 14- Thread the coat hanger next through the sound hole of the ukulele. Your current situation should look very much like picture 8 below.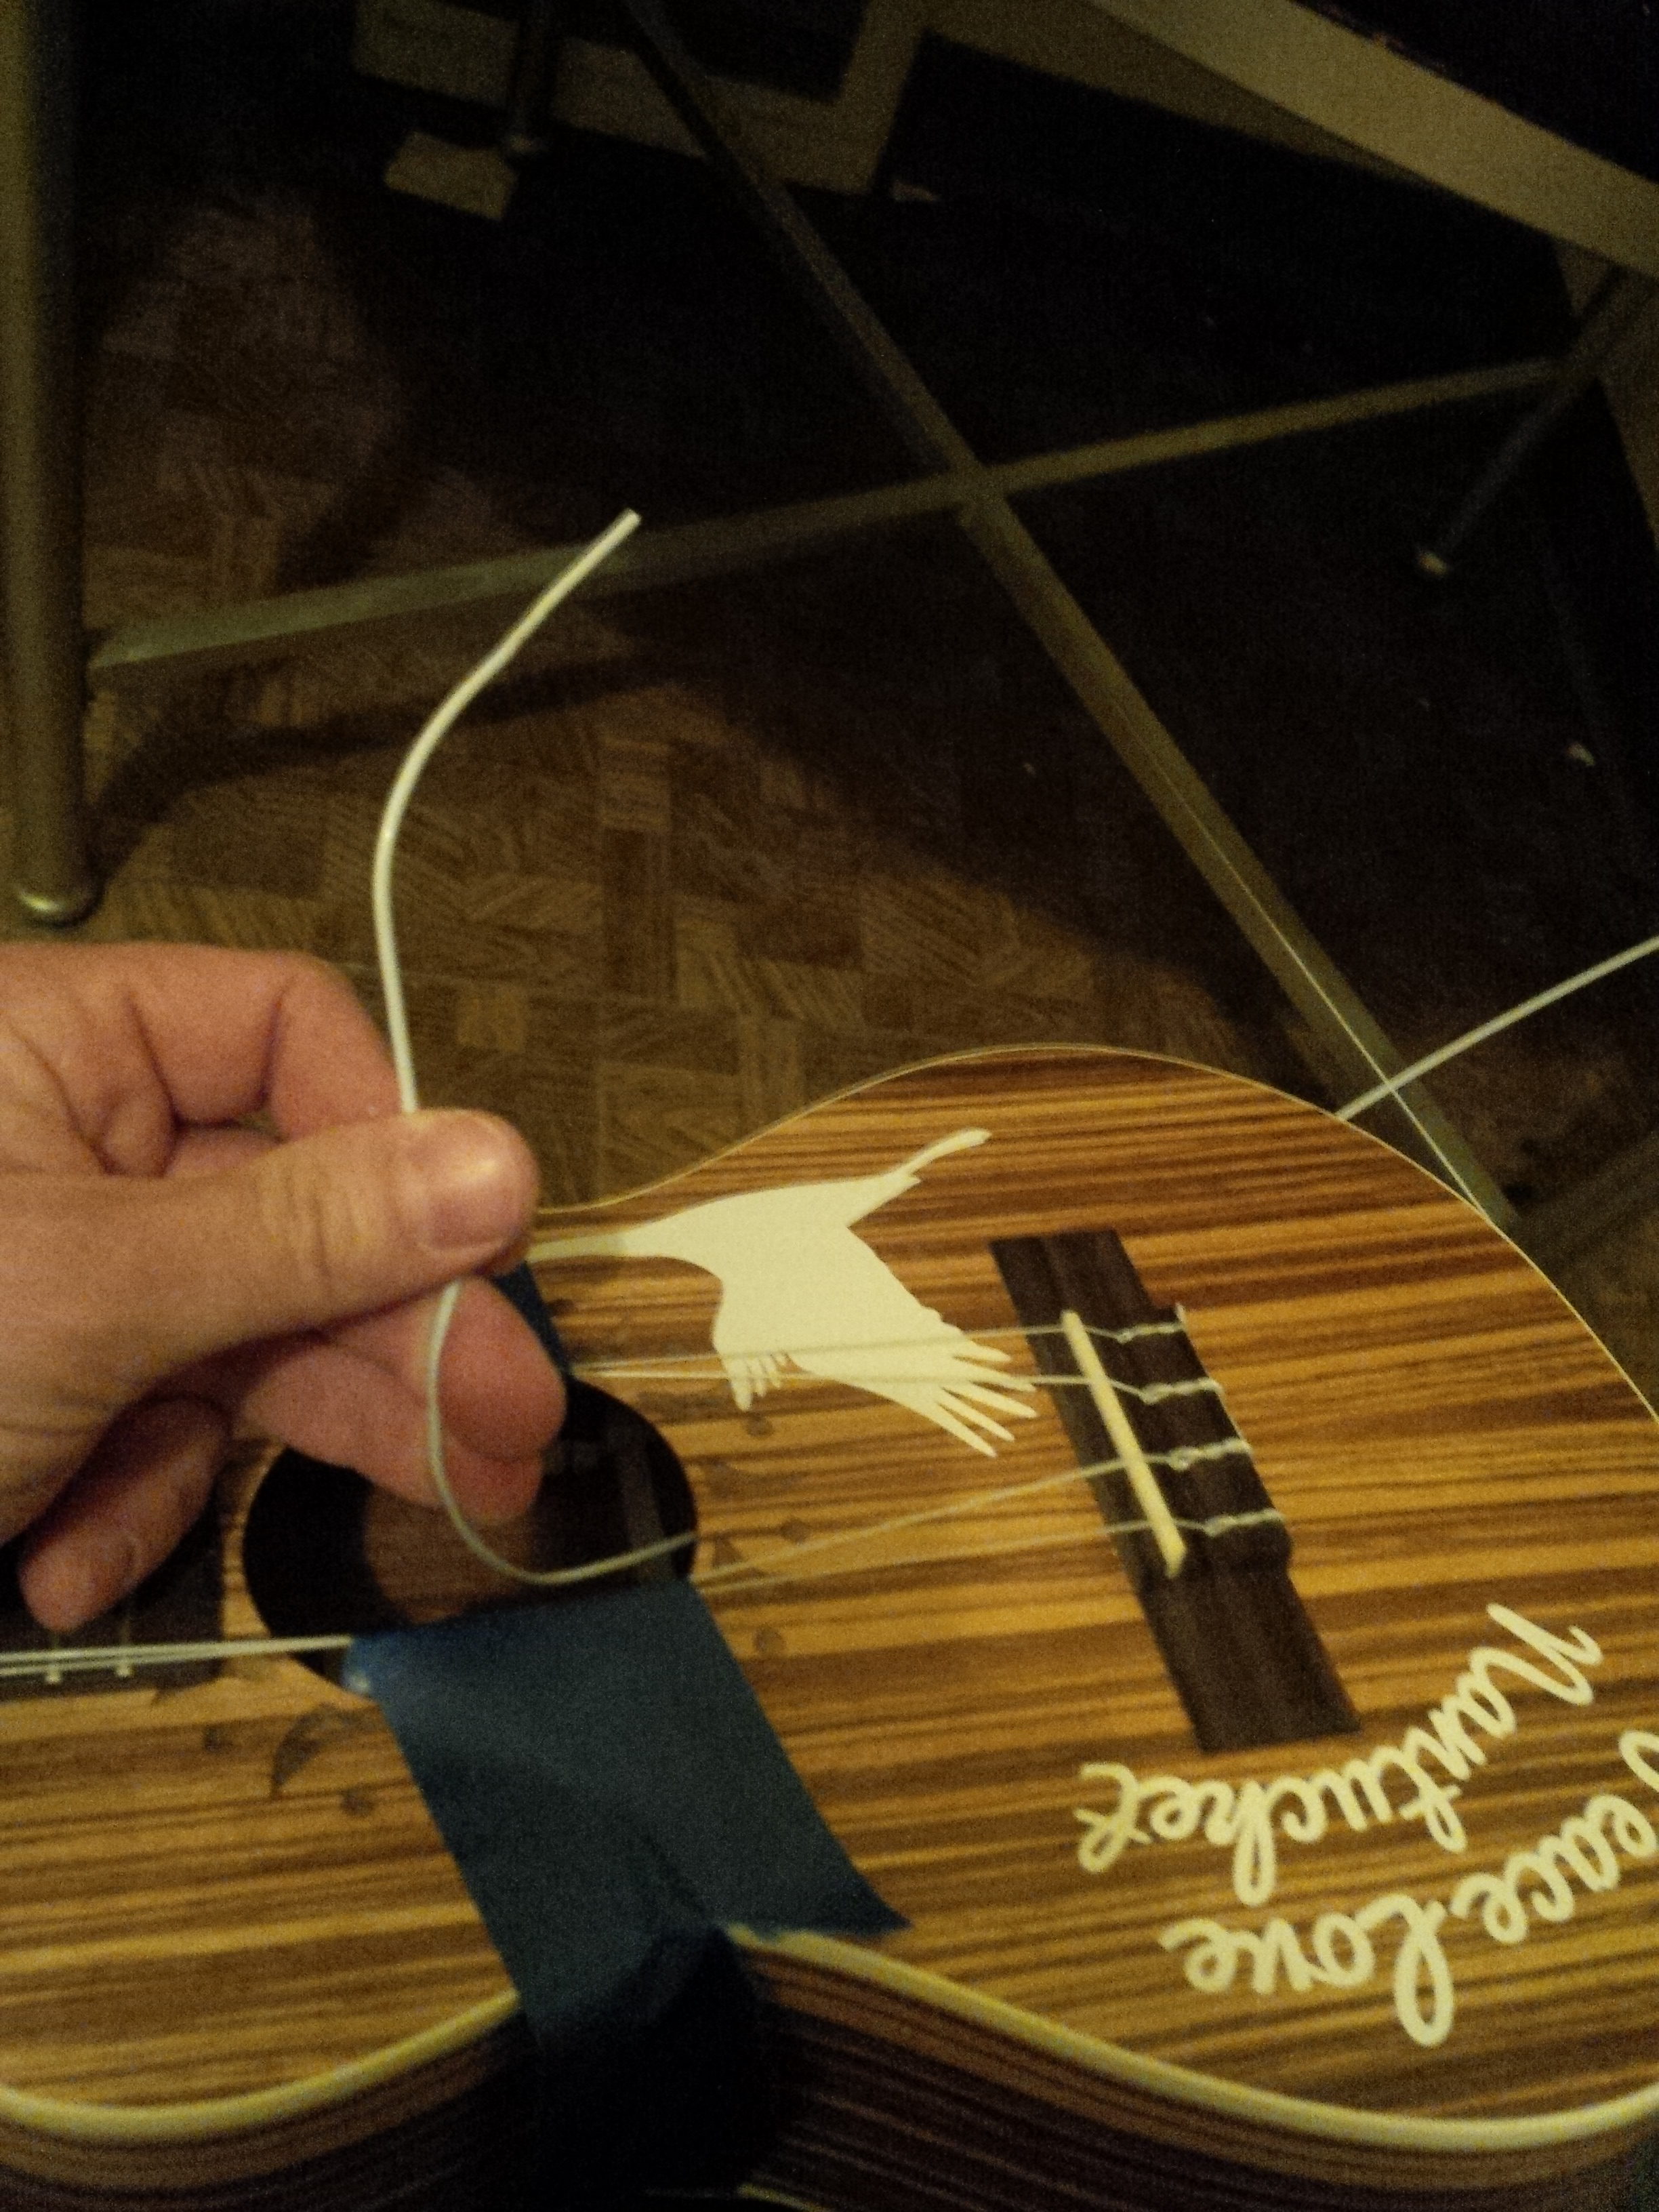
Picture 8.
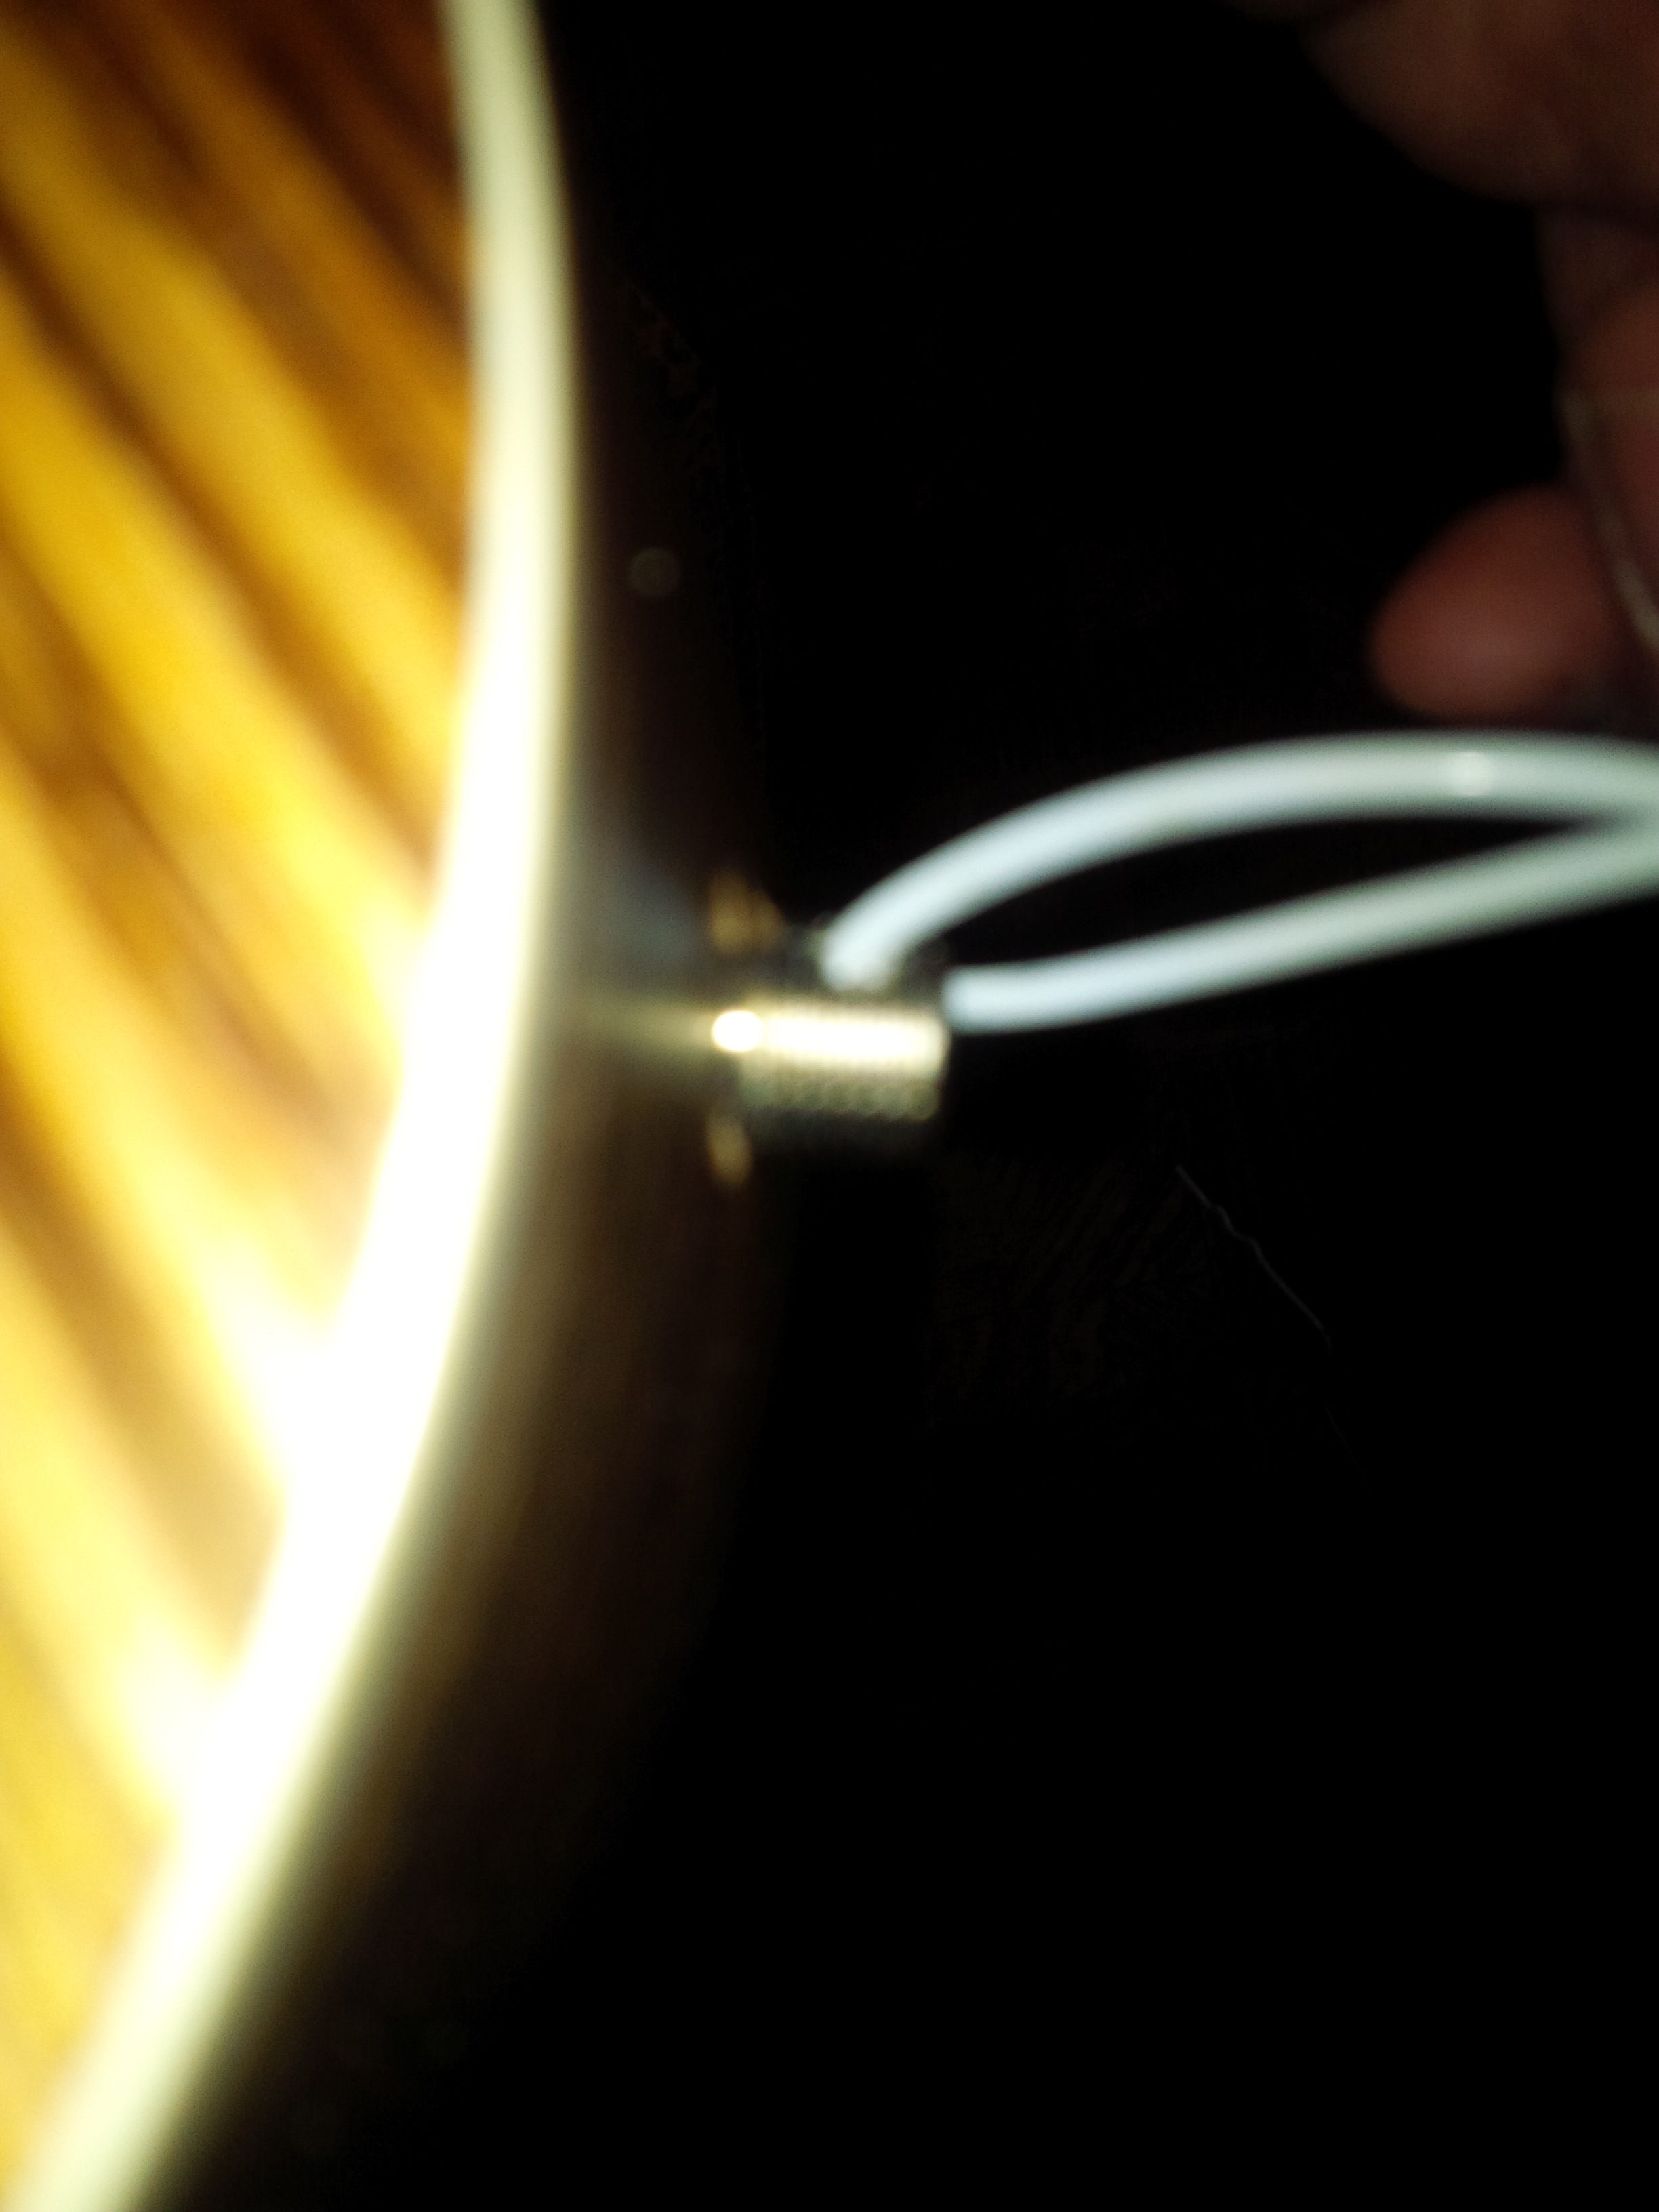
Step 15- Next thread the end of the coat hanger that out of the sound hole through the small hole located on the side of your input jack. The result should look very similar to picture 9 below.

Picture 9.
Step 16- Next grabbing the other end of the wire that is coming out of the drill hole, pull this end carefully until the piezo pickup is now mostly inside the ukulele and the input jack end is through the drilled hole as shown below in picture 10.
 Picture 10.
Step 17- Using your needle nose pliers grab a hold of the end of the input jack.
Step 18- With one hand holding onto the needle nose pliers that are gripping the end of the input jack, use your free hand to remove the coat hanger wire from the hole on the input jack.
Step 19- The input jack will probably be loose at this step so we need to be careful here and work slowly. Next carefully slide the washer onto the end of the input jack. To make sure that we are both on the same page here, please refer to picture 11 below. The washer is the part with the yellow line pointing to it.
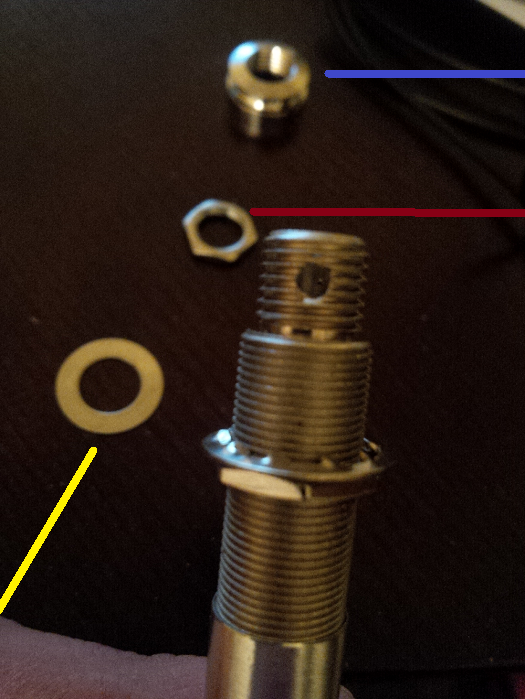 Picture 11.
Step 20- After you have placed the washer onto the end of the input jack, next begin to screw the nut onto the end of the input jack. The nut is the part with the red line pointing to it as shown in picture 11 above. Here is a helpful tip for you; You don’t need to screw the nut on completely right now. I’m going to show you a trick in step 19 to help make screwing the nut on completely an easier task for you.
Step 21- Now that you have the washer on and the nut on there a little bit, to help you finish screwing the nut on easier, take your instrument patch cable and insert it into the input jack as show below in picture 12.
 Picture 12.
Step 22- Now using one hand to hold the instrument patch cable so the input jack stays steady, grab your needle nose pliers with the other hand and finish screwing the nut onto the input jack completely. Do not overtighten the nut here.
Step 23- After you have the washer and nut on, next grab the end cap and screw this onto the input jack. To refresh your memory the end cap is the part with the blue line next to it as shown in picture 11 below. After the end cap is on completely your ukulele should now look similar to picture 13 below with an input jack properly installed.
Picture 11.
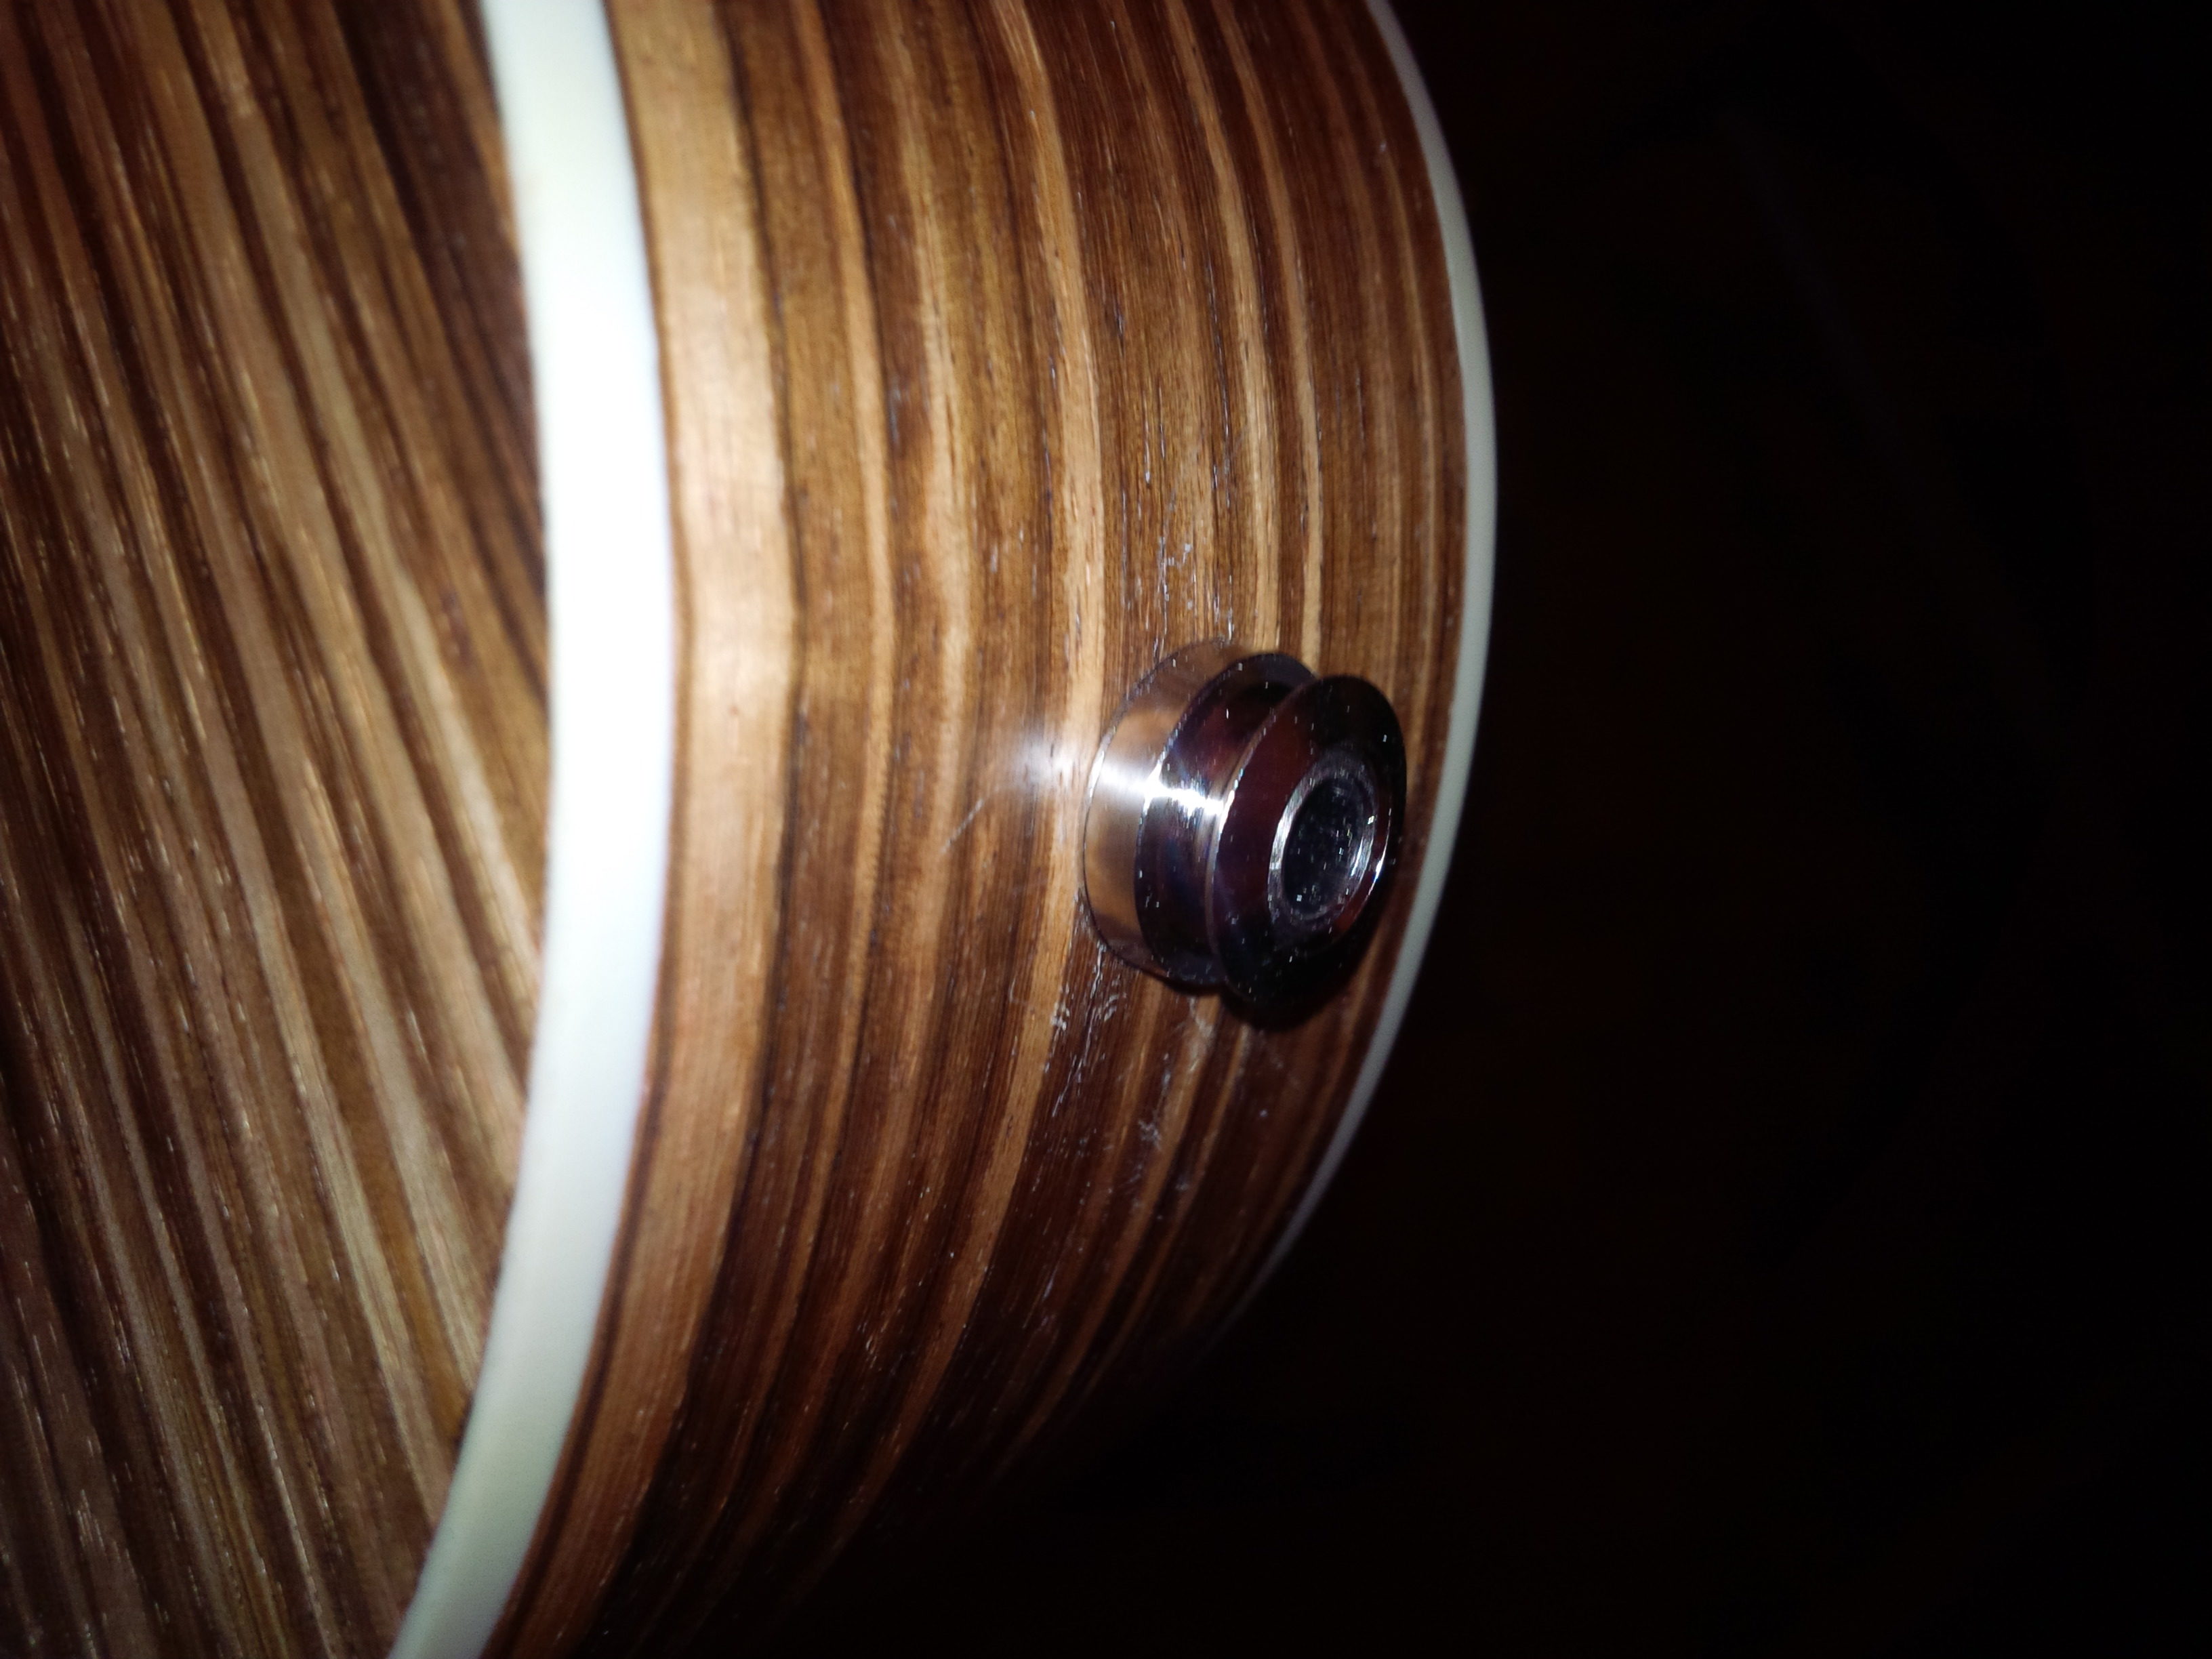 Picture 13.
Step 24- This step is essentially a preparation step for the next step, Step 25, when you’ll be gluing the pickups to the inside of the soundboard. In step 25 the goal for attaching the pickups is to place them as close to the bridge as possible. The uxcell piezo pickup that is used in this tutorial actually has 3 separate pickups attached to the input. Picture 14 below shows roughly where I aimed to place the pickups before I applied the hot glue. The end of the blue lines closest to the ukulele bridge are wear I was trying to place each pickup when I glued them in place during step 25.
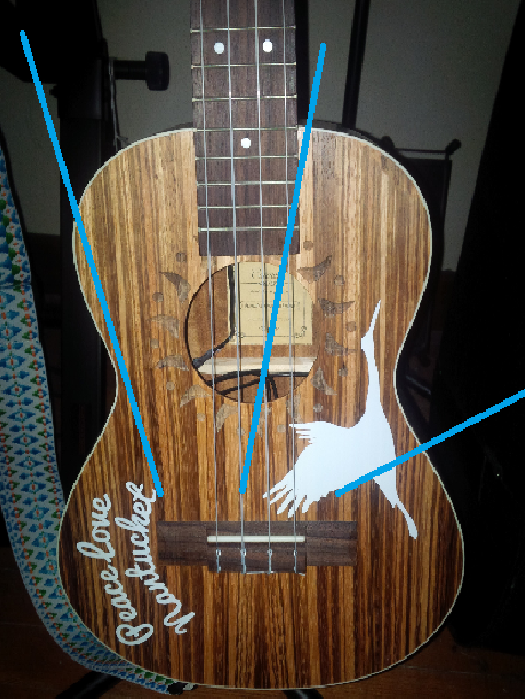 Picture 14.
Step 25- Next, grab your hot glue gun and press some hot glue onto the side of the pickup that DOES NOT have the wire attached to the front of it. On the uxcell piezo pickup this was the red side of the pickup. After the glue is on the pickup, place the pickup inside the soundhole of the ukulele, reach underneath the sound board and GENTLY press the pickup to the desired location that you want to place the pickup using picture 14 above as a guide.
Steps 26 and 27- If you are using a uxcell piezo pickup, repeat step 25 twice for the other two separate pickups.
Step 28- Remove the blue tape the sides of the ukulele to return the strings to their original position.
Step 29- Unplug your hot glue gun.
Step 30- Tune your ukulele to your preferred tuning.
Step 31- Plug your ukulele into your amplifier
Step 32- Enjoy playing your new acoustic-electric ukulele!!!
Congratulations on successfully installing a piezo pickup into your ukulele.
If you’re wondering how the uxcell piezo pickup sounds through a
Fender Rumble 25 Bass Amplifier.
Check out the 1 minute video below for sound sample …